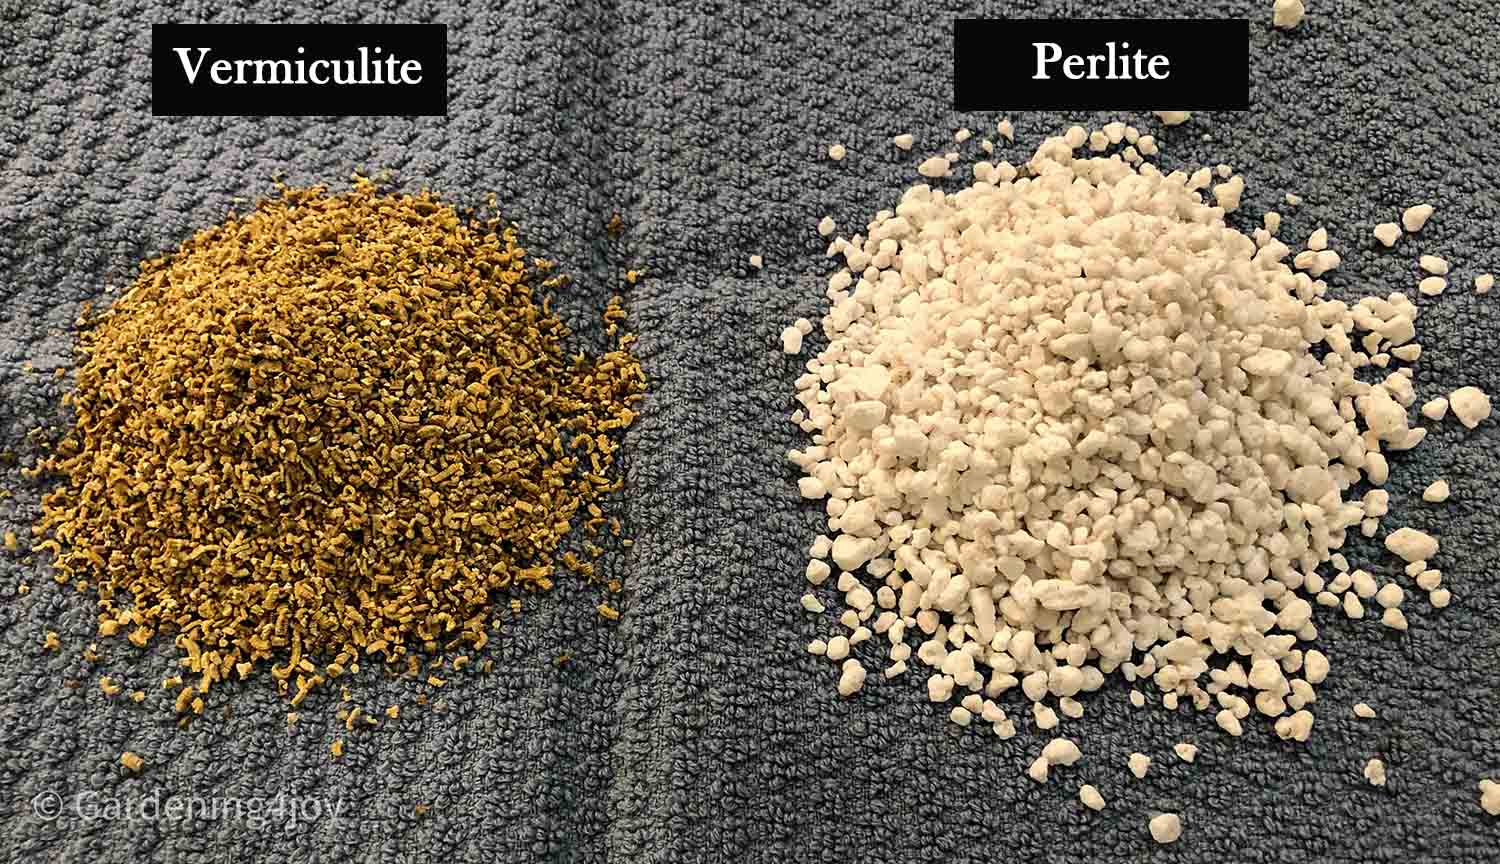
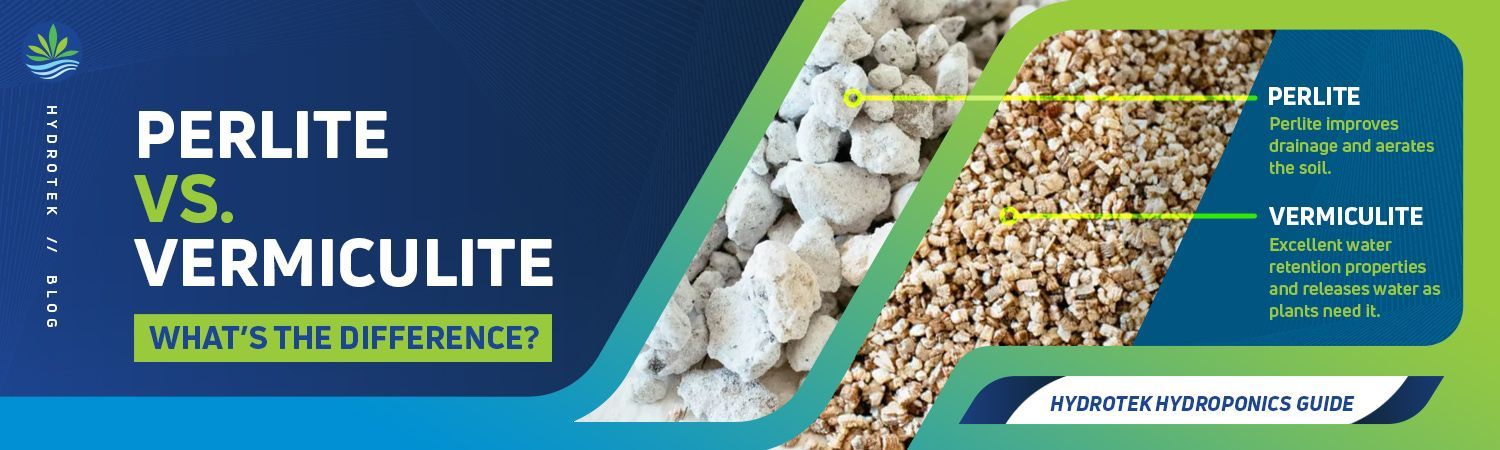
Perlite improves drainage and aeration, while vermiculite holds more water and nutrients.
I have worked with both perlite and vermiculite for years in greenhouses and home pots. I’ll explain perlite vs vermiculite clearly, with practical tips from hands-on experience. This guide covers what each material is, how they differ, when to use each, mixing rates, safety notes, and buying tips so you can choose with confidence. Read on to pick the right amendment for your plants and projects.

What are perlite and vermiculite?
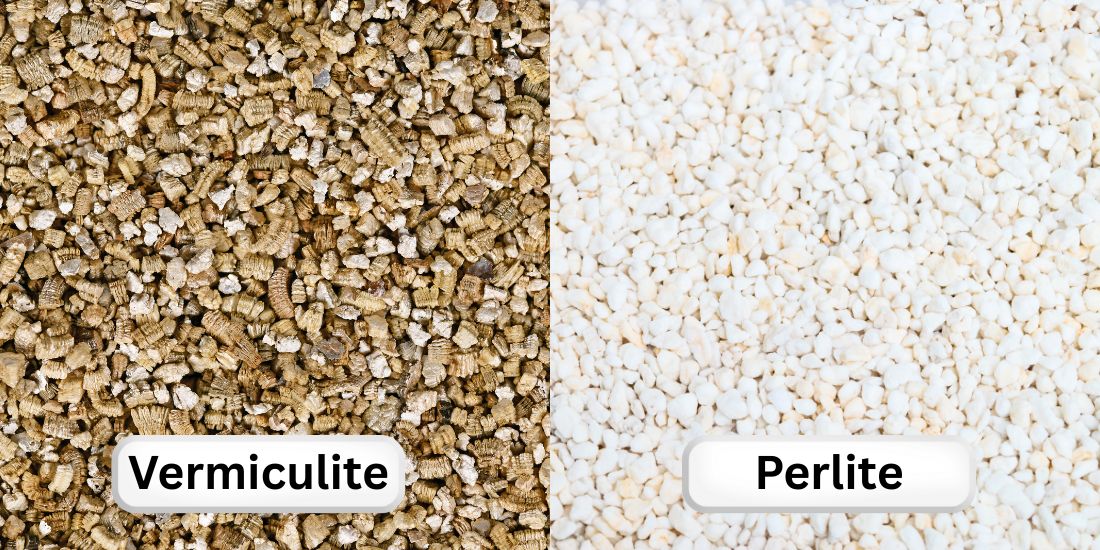
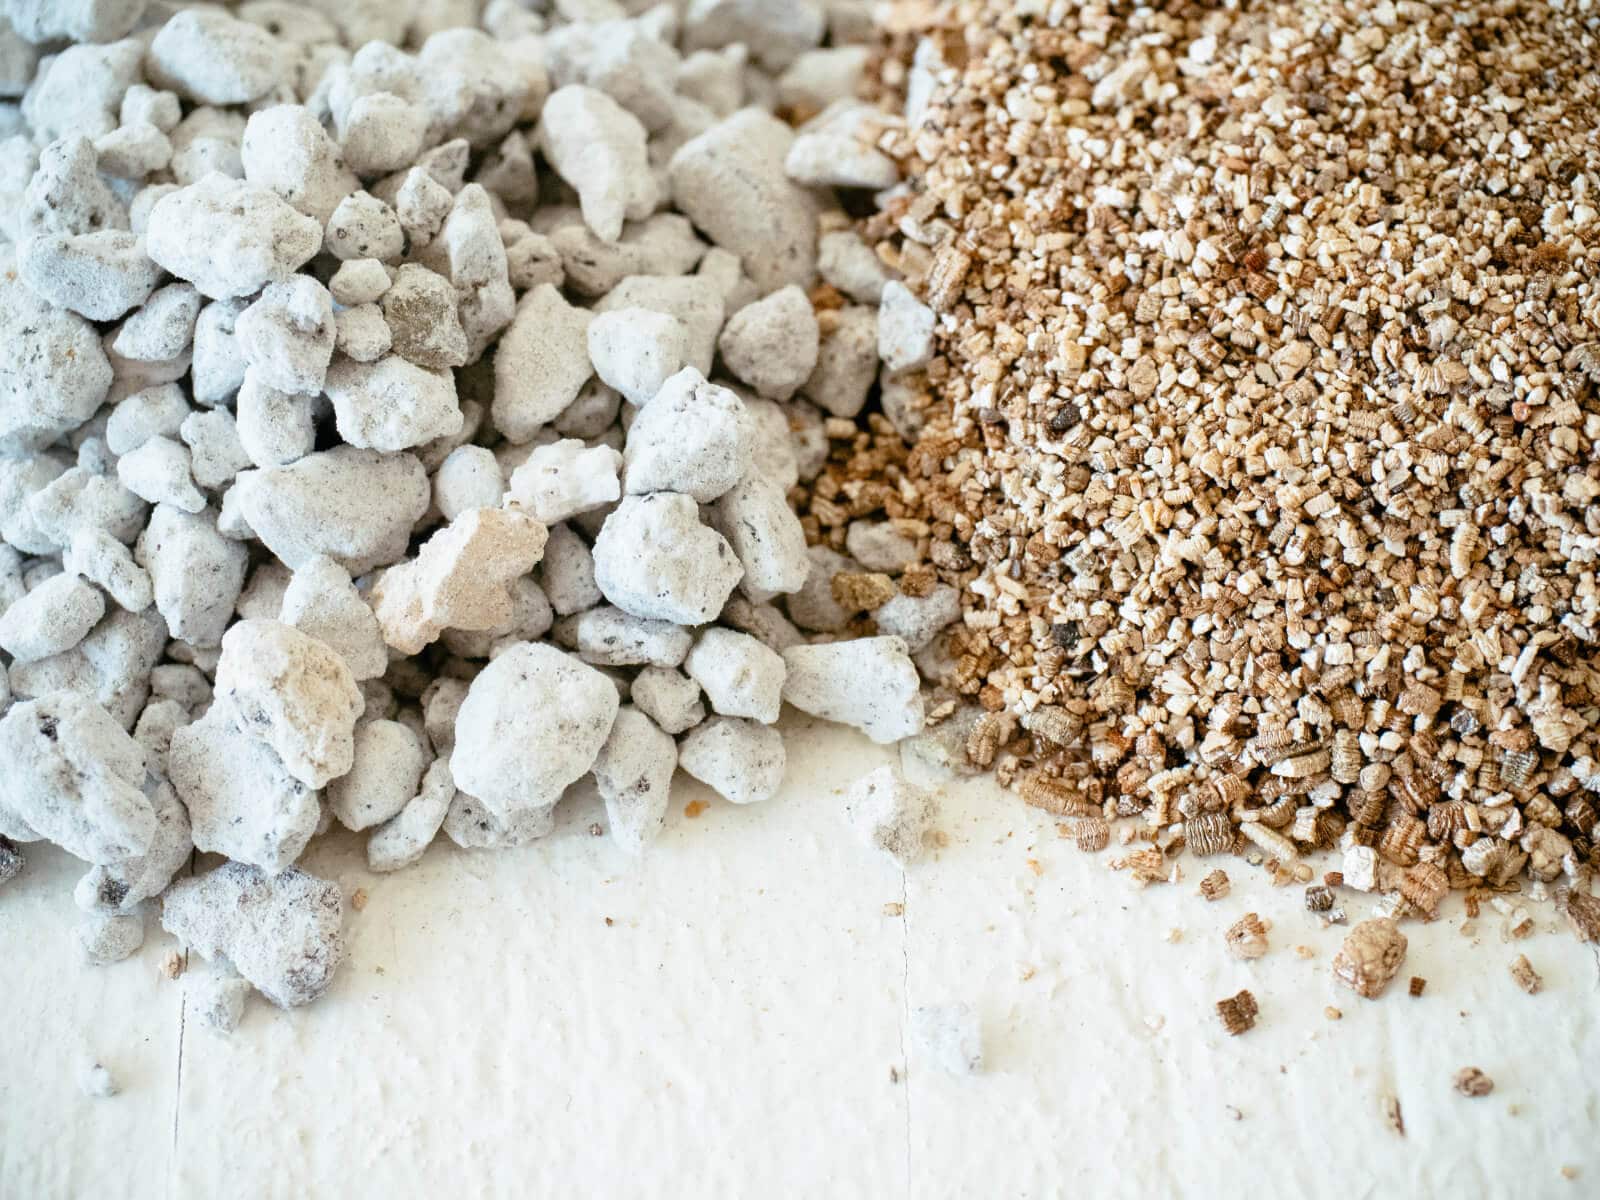
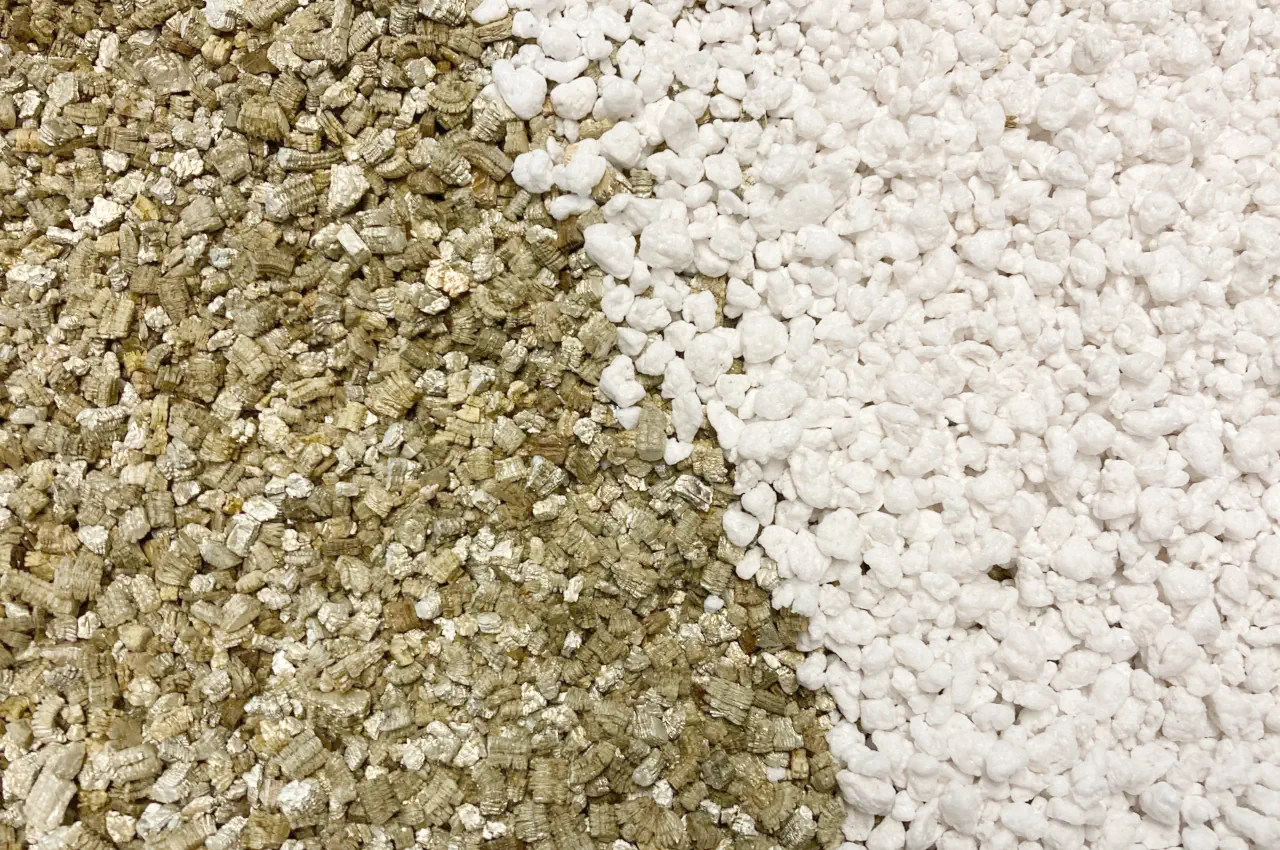
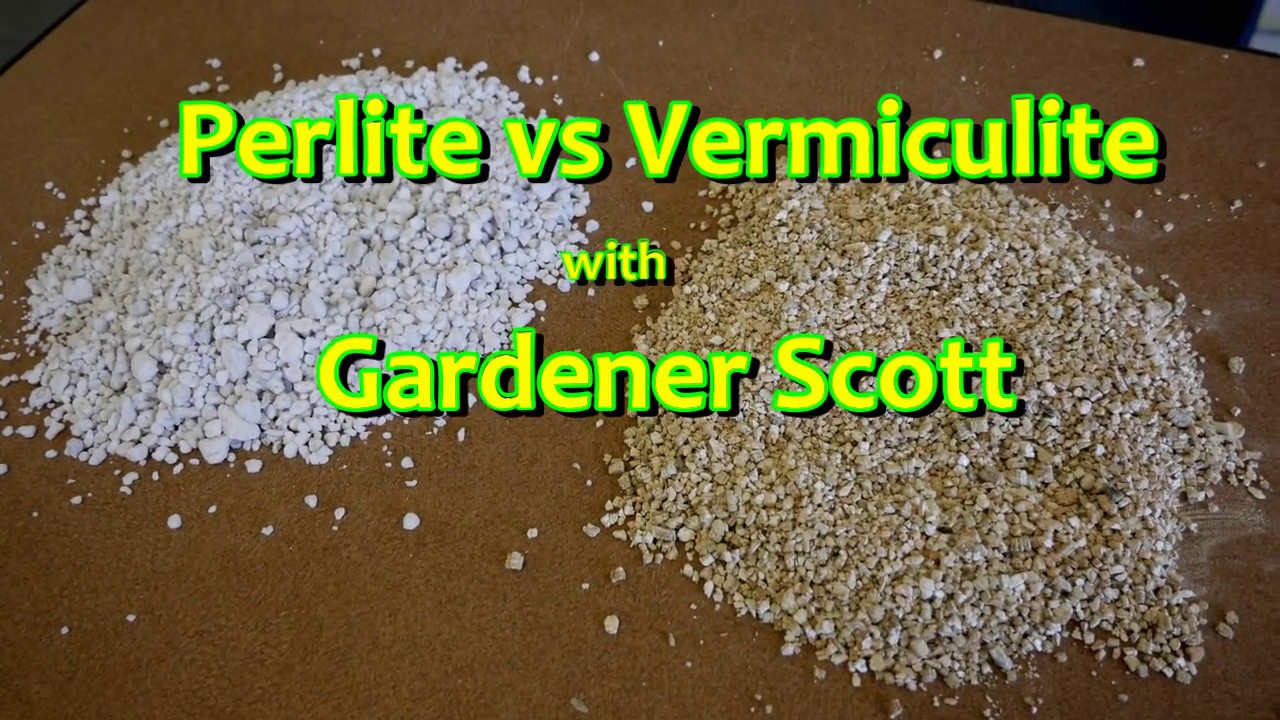
Perlite is a volcanic glass that is heated until it expands like popcorn. The result is a white, lightweight, porous particle. It feels crisp and stays dry on the surface.
Vermiculite is a hydrated mineral that expands when heated into layered, sponge-like flakes. It looks brown to gold and holds water and nutrients well.
Both are inert soil amendments. They do not rot. They change soil texture, aeration, and water behavior without adding organic matter. I use them often to rescue overwatered pots or to improve seed-starting mixes.
Key differences: perlite vs vermiculite
Physical form and feel
- Perlite: White, round, and crunchy. It floats in soil and creates air gaps.
- Vermiculite: Flaky, spongy, and soft. It compresses slightly and holds moisture.
Water retention
- Perlite: Drains quickly and holds little water. Good for plants that need fast drying.
- Vermiculite: Retains more water and releases it slowly. Better for moisture-loving seedlings.
Aeration and drainage
- Perlite: Improves drainage and root oxygenation.
- Vermiculite: Improves moisture retention but provides less air space.
Nutrient exchange and pH
- Perlite: Very neutral and inert. It does not hold nutrients well.
- Vermiculite: Has some cation exchange capacity, so it helps retain and release nutrients.
Longevity and breakdown
- Perlite: Does not degrade quickly. Keeps structure for many years.
- Vermiculite: Stable for a long time but can compact over years in potting mixes.
Weight and handling
- Perlite: Very light and dusty when poured. The dust can irritate lungs.
- Vermiculite: Heavier and less dusty. Easier to handle indoors.
Which is better for what plants? (perlite vs vermiculite by use)
Succulents, cacti, and orchids
- Best choice: Perlite
- Why: These plants need fast drainage and loose mix to avoid root rot.
Seed starting and cuttings
- Best choice: Vermiculite or a perlite-vermiculite mix
- Why: Vermiculite helps retain moisture for germination. A mix balances air and water.
Houseplants in closed pots
- Best choice: Small amounts of perlite
- Why: Perlite prevents compaction and improves root oxygen.
Vegetables in containers
- Best choice: Mix based on crop
- Why: Shallow-rooted, moisture-loving crops prefer more vermiculite. Tomatoes and peppers like perlite for drainage.
Hydroponics and propagation
- Best choice: Perlite or perlite blends
- Why: Clean, inert, and drains well for soilless systems.
For a single-sentence rule: choose perlite for drainage and vermiculite for moisture retention. I often use a 1:1 mix for general potting—this has saved many seed batches for me.
How to mix perlite and vermiculite with potting soil
Simple mix ratios
- Seed starting: 2 parts vermiculite, 1 part compost or potting mix.
- General potting: 1 part perlite, 1 part peat or coir, 1 part compost.
- Succulent mix: 1 part potting soil, 2 parts perlite, 1 part coarse sand.
Step-by-step for repotting
- Step 1: Remove the plant gently and shake off loose old soil.
- Step 2: Mix potting soil with chosen amendment ratio in a separate container.
- Step 3: Add fresh mix to the pot, position the plant, and top with remaining mix.
- Step 4: Water lightly and allow extra drainage time when perlite is used.
Common mistakes to avoid
- Overusing perlite for moisture-loving plants.
- Using only vermiculite for plants that need fast drying.
- Not rinsing dusty perlite outdoors before using indoors.
My tip: mix in a shallow tub. I wet vermiculite slightly to reduce dust and pour perlite outdoors with a mask. This keeps work clean and safe.

Benefits and limitations
Benefits of perlite
- Boosts drainage and root oxygen.
- Long-lasting and sterile.
- Lightweight for hanging baskets.
Limitations of perlite
- Poor water retention.
- Dusty and can float up when overwatered.
Benefits of vermiculite
- Excellent water and nutrient retention.
- Great for seed germination and moisture-loving plants.
Limitations of vermiculite
- Can compact in pots over time.
- Not ideal for plants that need very fast drying.
Using both together can capture the benefits of each. For example, when I repotted a thirsty fern, adding vermiculite cut water frequency in half without causing root rot. For a cactus collection, swapping vermiculite for perlite reduced root disease.
Safety, sourcing, and buying tips
Safety when handling
- Wear a dust mask when pouring perlite to avoid inhaling dust.
- Work in a ventilated area or outdoors.
- Wet vermiculite slightly to reduce airborne particles.
Sourcing and quality
- Buy horticultural-grade perlite and vermiculite from garden centers.
- Avoid construction-grade vermiculite; it may contain contaminants.
- Check product labels for particle size and intended use.
Environmental and health notes
- Both are mined minerals and not biodegradable.
- Use them sparingly and reuse in mixes when possible.
- Dispose responsibly if contaminated with disease.
Cost and availability
- Perlite is usually cheaper and widely available.
- Vermiculite can cost more and is less common in bulk.
My buying rule: pick smaller bags for testing. Try a small batch mix before committing to large bags. This saved me time and money when I first experimented with perlite vs vermiculite.
Common practical examples and experiments
Seed tray test
- Try seeds in three trays: 100% vermiculite, 100% perlite, and a 50/50 mix.
- Observe germination speed, root health, and moisture needs.
Repotting a mixed houseplant collection
- Use perlite in pots for succulents and vermiculite for ferns.
- Track watering frequency for four weeks to refine mix.
Simple troubleshooting
- If soil stays wet for too long: add more perlite.
- If soil dries out too fast: add more vermiculite or organic matter.
From my experience, running small experiments helps you match mix to your exact microclimate. Garden centers' advice is useful, but your home conditions matter most.
People also ask (PAA) — short answers
-
Will perlite or vermiculite help root rot?
Vermiculite can hold moisture and keep roots wet, which may worsen root rot. Perlite improves drainage and helps prevent root rot. -
Can you mix perlite and vermiculite?
Yes. A balanced mix gives both aeration and moisture retention. Try 1:1 for general use. -
Which one is better for seed starting?
Vermiculite is generally better for germination because it keeps seeds moist. A small amount of perlite can improve drainage later. -
Are these safe for indoor use?
Yes if you handle them properly. Wear a mask with perlite to avoid dust inhalation. -
Do they decompose in soil?
No. Both are stable minerals and do not break down quickly.
:max_bytes(150000):strip_icc()/SPR-vermiculite-vs-perlite-6455754-hero-1a2d3e14e0584fbaa4a990ebef1d494b.jpg)
Frequently Asked Questions of perlite vs vermiculite
What is the main difference between perlite and vermiculite?
Perlite is porous and promotes drainage. Vermiculite holds water and nutrients. Use perlite for aeration and vermiculite for moisture retention.
Can I use perlite or vermiculite alone for potting mix?
You can, but alone they lack nutrients and organic matter. Mix with compost or potting soil for healthy plant growth.
How much perlite should I add to potting soil?
A common ratio is 1 part perlite to 2 parts potting soil. For succulents, increase perlite to 2 parts perlite to 1 part soil.
Is vermiculite safe for edible plants?
Yes, vermiculite is safe for food crops when using horticultural-grade product. Ensure it is clean and from a reliable source.
Which is better for indoor seed starting: perlite or vermiculite?
Vermiculite is usually better for seed starting because it keeps moisture around seeds. Add perlite later if you need more drainage.
How long do perlite and vermiculite last in pots?
They last many years. Perlite rarely breaks down. Vermiculite may compact slowly but remains effective for a long time.
Conclusion
Perlite and vermiculite serve different but complementary roles. Perlite improves drainage and air flow, while vermiculite holds water and helps nutrients stay near roots. Use perlite for succulents and fast-draining mixes, and vermiculite for seedlings and moisture-loving plants. Try small test mixes to match your plant needs and local conditions. Now pick a bag, test a small mix, and see which one helps your plants thrive — then share your results or questions below.