Use perlite for drainage and vermiculite for moisture—mix both for the best seed starting results.
I have started thousands of seeds over many seasons and tested both perlite and vermiculite closely. I understand how small choices in seed mixes shape germination and seedling health. This article compares perlite vs vermiculite for seed starting in simple terms. Read on for clear guidance, recipes, and tips you can use right away.

Why the seed starting mix matters
A good mix gives seeds the right balance of air, water, and support. Seeds need steady moisture and fresh air to sprout strong roots. A poor mix can drown seeds or make them weak and leggy. Choosing between perlite vs vermiculite for seed starting affects moisture, aeration, and transplant success.
Perlite: characteristics, benefits, and drawbacks
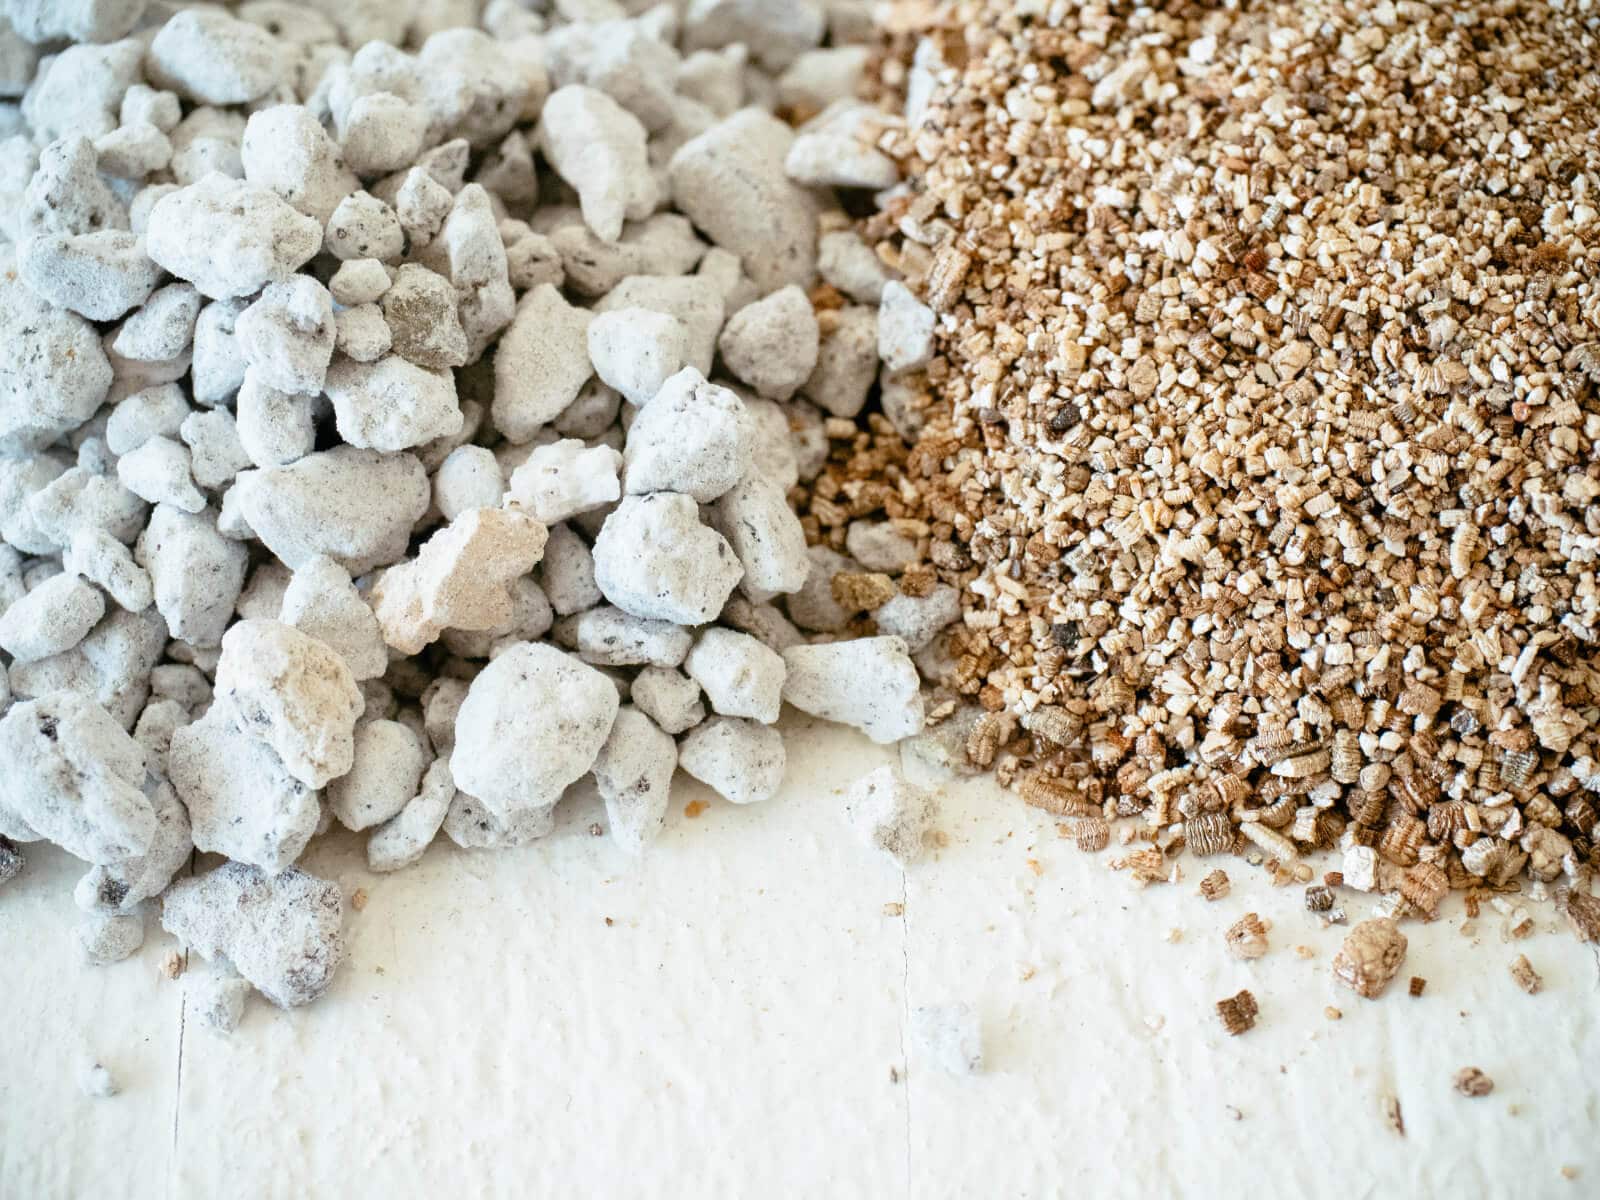
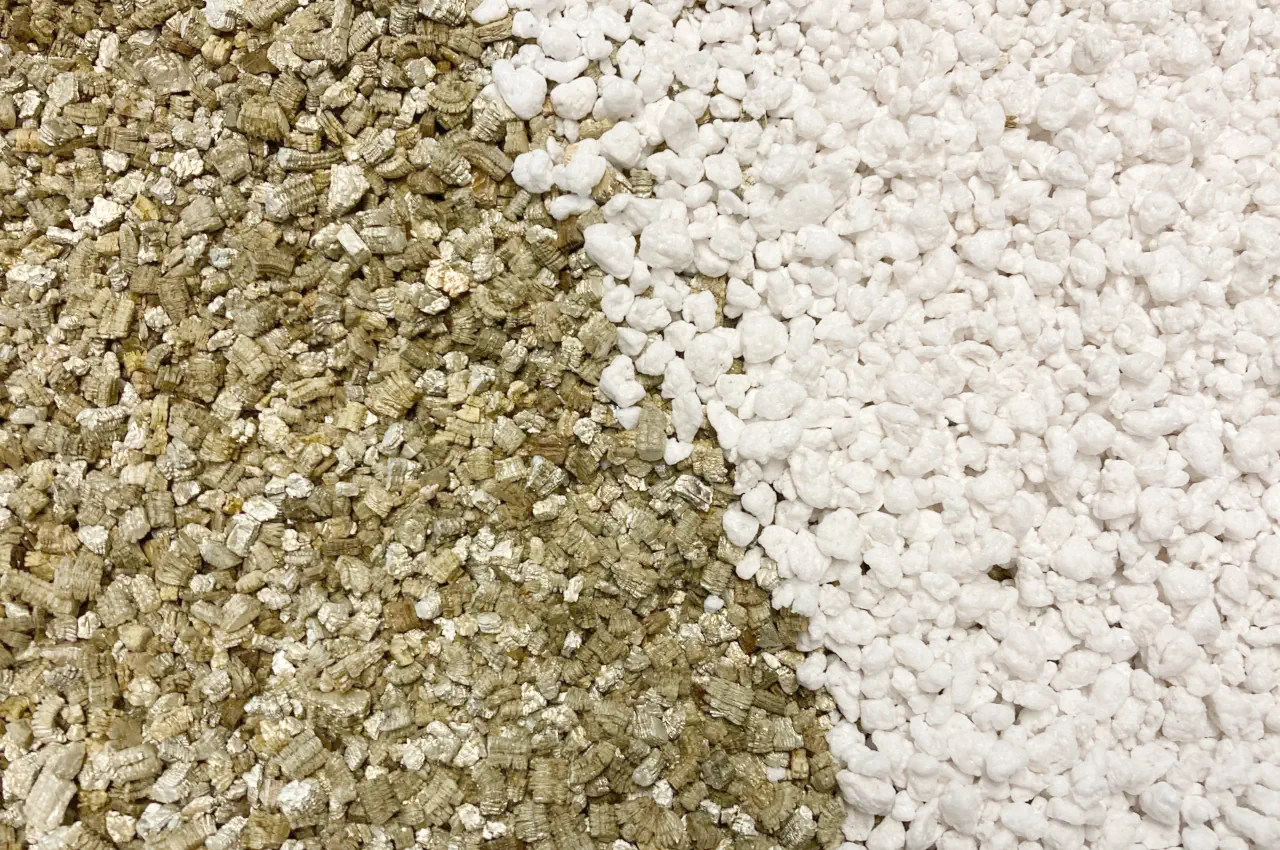
Perlite is a white, volcanic glass that is heated until it pops like popcorn. It is light. It adds air and drainage to mixes.
Benefits
- Excellent drainage and aeration for roots. It keeps soil from compacting.
- Lightweight, so trays stay easy to move. It dries faster than vermiculite.
- Neutral pH. It does not bind nutrients or change soil chemistry.
Drawbacks
- Poor water retention. It can dry out small seeds quickly.
- Windy or dusty when dry. It can make a mess in the potting area.
- No nutrient holding. You must feed seedlings sooner.
Personal tip
- I use perlite when I want fast-draining mixes for peppers and tomatoes. It keeps root rots at bay. I mix perlite with compost or peat to hold moisture and nutrients.

Vermiculite: characteristics, benefits, and drawbacks
Vermiculite is a soft, mineral that expands when heated. It looks like small brown flakes. It soaks up and holds water like a sponge.
Benefits
- Great water retention and gentle moisture release to seeds. It reduces the need to water every day.
- Good at holding some nutrients. It helps feed young roots early on.
- Soft and airy, it supports delicate roots without compacting.
Drawbacks
- Can hold too much water for plants that need fast drainage. This raises risk of damping off.
- Heavier than perlite. Seed trays are slightly heavier.
- Some vermiculite products may have variable quality. Choose horticultural grade.
Personal tip
- I use vermiculite alone for very small seeds like lettuce or calendula. It gives steady moisture and high germination. For larger seeds I blend it with looser media.
Perlite vs vermiculite for seed starting: direct comparison
This section breaks down the main traits you care about when choosing between perlite vs vermiculite for seed starting.
Water retention
- Perlite drains quickly and holds little moisture. It suits seeds that dislike wet feet.
- Vermiculite holds water and releases it slowly. It suits very small seeds and long germination.
Aeration and drainage
- Perlite adds big air pockets and prevents compaction.
- Vermiculite improves texture but can reduce drainage if used alone.
Nutrient holding and pH
- Perlite is inert and holds no nutrients.
- Vermiculite holds some nutrients and buffers young roots.
Seed types and match
- Use perlite-heavy mixes for peppers, eggplant, and herbs that need good airflow.
- Use vermiculite or vermiculite mixes for lettuce, brassicas, and tiny seeds that need constant moisture.
Cost and availability
- Both are affordable and sold at garden centers. Perlite is often slightly cheaper.
- Buy horticultural-grade material to avoid impurities.
Which to choose?
- Choose perlite if you struggle with overwatering or root rot.
- Choose vermiculite if your seeds need steady moisture and gentle conditions.
- For most home gardeners, a mix of both offers the best balance.

How to use perlite and vermiculite for seed starting (recipes and tips)
Below are simple mixes and steps to start seeds using perlite vs vermiculite for seed starting.
Basic blends
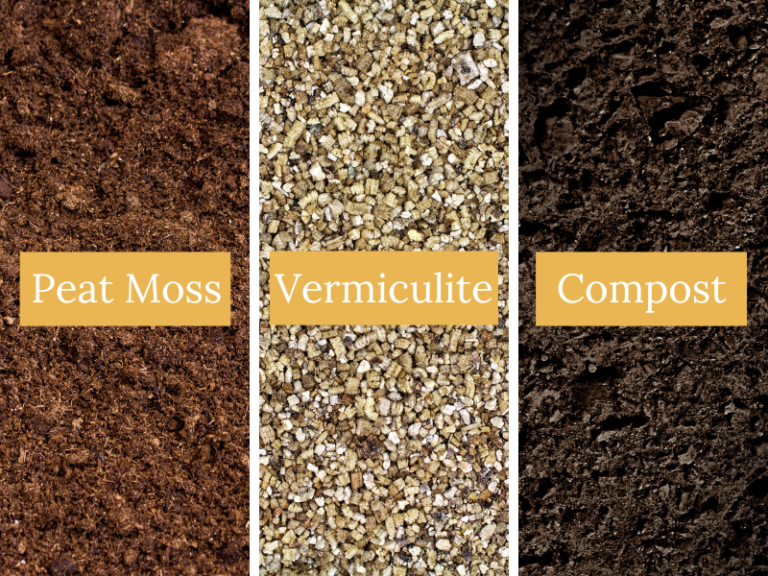
- Light mix for fast drainage: 50% potting soil, 20% perlite, 30% compost. This helps peppers and tomatoes.
- Moisture-retaining mix: 50% compost, 30% vermiculite, 20% potting soil. This suits lettuce and small-seeded annuals.
- Starter-only mix: 70% vermiculite, 30% perlite for very small seeds. It holds moisture but gives air pockets.
Step-by-step seed starting
- Fill clean trays with chosen mix to about 3/4 full.
- Moisten the mix evenly before sowing.
- Sow seeds at the depth recommended on the packet, or surface-sow tiny seeds on vermiculite.
- Cover lightly if needed and mist daily to keep a gentle, even moisture.
- Provide light and warmth as required for the seed type.
Sterilizing and reuse
- Bake mixes at 180°F for 30 minutes to sterilize small batches. This kills fungi and pests.
- You can reuse perlite after rinsing and drying. Vermiculite breaks down faster and is harder to reuse.

Common mistakes and practical tips from experience
I have made and fixed many seed-starting mistakes. Here are the most common ones and how to avoid them.
Mistakes to avoid
- Using straight garden soil. It compacts and brings disease.
- Overwatering a vermiculite-heavy mix. It can cause damping off.
- Using only perlite for tiny seeds. They dry too fast and fail to germinate.
Practical tips
- Keep trays covered until germination to keep humidity even. Remove cover when true leaves appear.
- Use a gentle bottom heat or heat mat for warm-loving seeds with a perlite blend.
- Label trays and keep a watering log. Small mistakes add up.
Personal lesson
- Early on I used too much vermiculite and lost seedlings to fungus. I now prefer mixes that use both materials. Balance matters more than a single "best" ingredient.

Frequently Asked Questions of perlite vs vermiculite for seed starting
Is perlite or vermiculite better for seed germination?
Both can be good. Vermiculite helps very small seeds by holding moisture, while perlite helps seeds that need more air. Often a mix of both is best.
Can I start seeds in straight vermiculite or perlite?
You can, but results vary. Tiny seeds often do well in straight vermiculite, while many larger seeds need added organic matter with perlite.
How do I prevent damping off when using vermiculite?
Keep good airflow and avoid overwatering. Use sterile trays and remove covers after sprouts appear.
Should I fertilize seedlings started in perlite or vermiculite?
Yes. Perlite holds no nutrients, so feed seedlings sooner. Vermiculite holds some nutrients but you still need to fertilize as they grow.
Can I reuse perlite and vermiculite for multiple seasons?
Perlite can be rinsed and reused. Vermiculite breaks down and is best replaced each season or mixed with fresh media.
Conclusion
Perlite and vermiculite each solve different seed-starting needs. Perlite gives air and drainage. Vermiculite gives moisture and gentle support. For most home gardeners, a balanced mix that uses both perlite vs vermiculite for seed starting gives the best germination and healthier seedlings. Try a simple 50/50 blend for odd-numbered trials, observe results, and adjust by seed type. Share your results below, subscribe for more seed-starting tips, or leave a question so I can help you choose the right mix.